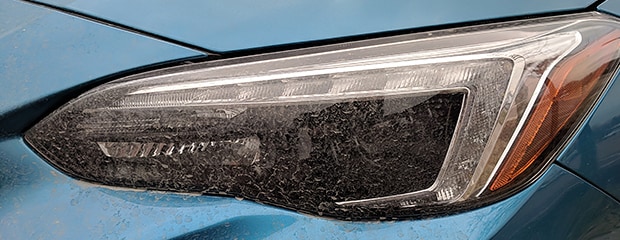

Having clear and bright headlights is crucial for safe driving. With time, headlights can become cloudy or yellowed, which reduces their effectiveness and decreases visibility on the road. Fortunately, you can restore your car's headlights to their original condition with a straightforward DIY process. In this blog post, we will walk you through the steps of headlight restoration to ensure that your headlights are clear and bright and your driving experience is enhanced.
DIY Headlight Restoration:
Gather Necessary Supplies
The first step is to collect the supplies required for the restoration process, which usually consists of sandpaper, a polishing compound, and a protective sealant. These items are available in headlight restoration kits in automotive supply stores or online.
Preparing the Headlights
Clean the headlights with soap and water to eliminate any dirt or debris. Ensure that they are entirely dry before proceeding to the next step.
Sand the Headlights
Use the sandpaper from the restoration kit to wet-sand the headlights in a back-and-forth motion. Start with lower-grit sandpaper to remove the outer layer of oxidation, then switch to higher-grit sandpaper for a smoother finish.
Apply the Polishing Compound
Take a clean, soft cloth and apply the compound from the kit. Rub the compound onto the headlights in a circular motion, applying gentle pressure until the headlights appear clear and haze-free.
Seal the Headlights
Once the headlights are polished, apply the protective sealant in the kit. This sealant will help maintain the clarity of the headlights and protect them from future oxidation.